The golfer’s elbow test, or medial epicondylitis test helps diagnose golfer’s elbow or medial epicondylitis.
Advert
What is Golfer’s elbow?
Golfer’s elbow is also known as medial epicondylitis, thrower’s elbow, or little league elbow. It causes pain on the inside of the elbow, which develops gradually over time.
Here’s how to perform the test:
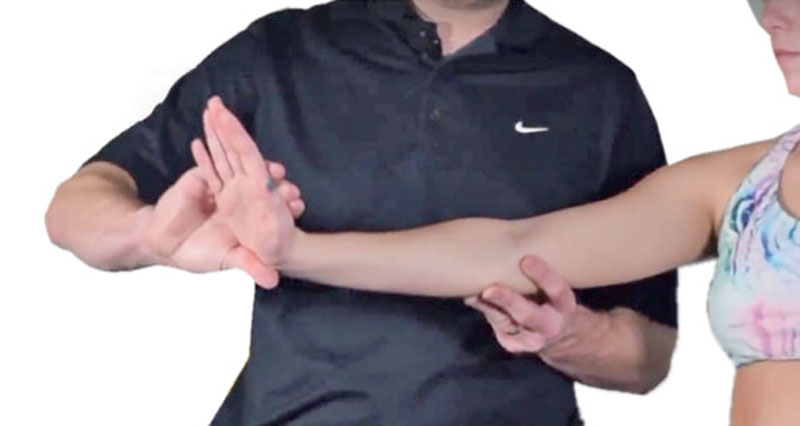
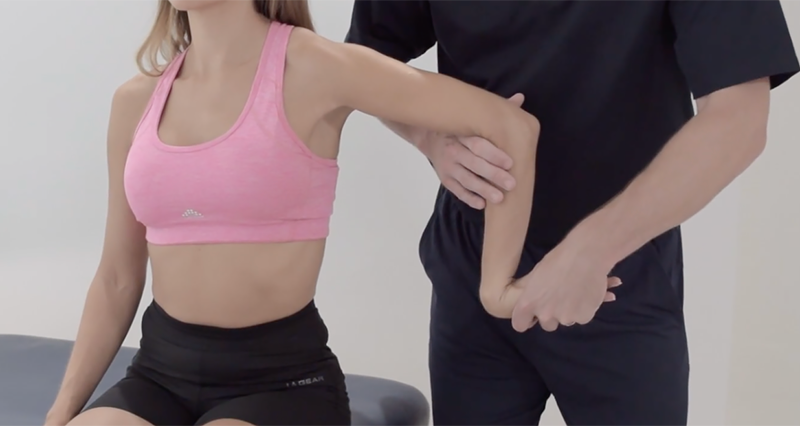
- Positioning: Seat the patient comfortably with their arm extended and the palm facing downward (pronated position).
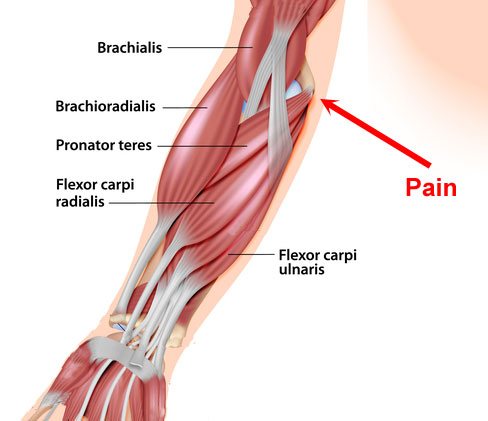
- Locating the Medial Epicondyle: This is the bony prominence on the inside of the elbow. It is at this point where the tendons affected in golfer’s elbow attach.
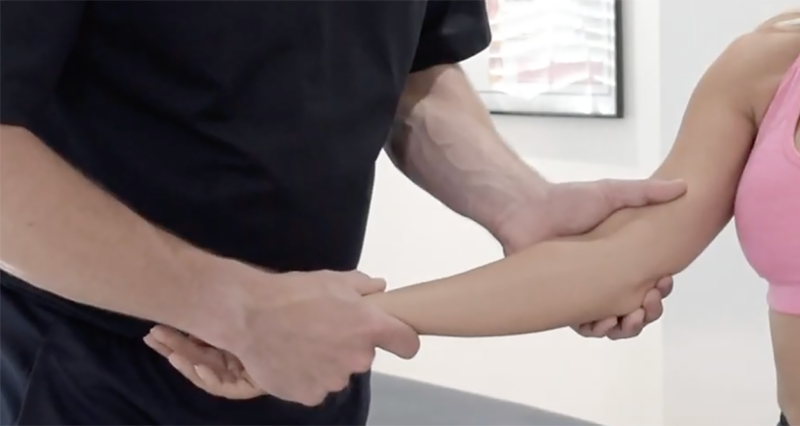
- Stabilization: Use one hand to stabilize the patient’s arm just above the wrist. This helps prevent any unnecessary movement during the test.
- Resistance: With the other hand, apply resistance to the patient’s wrist or fingers in a direction that would oppose wrist flexion or finger flexion. You can do this by asking the patient to flex their wrist or fingers against your resistance.
- Observation for Pain: While maintaining the resistance, observe the patient’s reaction. Specifically, watch for any signs of pain or discomfort around the medial epicondyle or along the inner side of the elbow.
- Interpretation: A positive test result is indicated if the patient experiences pain or tenderness in the region of the medial epicondyle during the resisted wrist or finger flexion. The reproduction of pain in this area suggests irritation or inflammation of the tendons attached to the medial epicondyle, characteristic of a golfer’s elbow.
It’s crucial to carry out this test with great care and gentleness to prevent causing excessive discomfort to the patient. Moreover, it’s essential to consider alternative causes of elbow pain and conduct a comprehensive examination to reach an accurate diagnosis.
If uncertain or if symptoms persist, seek further evaluation from a healthcare professional like a physician or physiotherapist.